Since the beginning of summer, 2022, I challenged myself to take classes in web development and document some of what I’ve learned (you can find my previous post about HTML here). There’s a lot to learn, including the language used for styling websites, called CSS.
Now there’s simple styling and more advanced styling. For this blog post, we’ll stick to simplicity. I won’t be diving into any of the lore- sorry about that. Just a step-by-step walkthrough of how it’s done.
Here is a beginner’s walkthrough of using CSS.
Step #1: Creating a CSS style sheet
Say I was building a website (go figure). I had an h1 that I wanted to turn a very specific shade of purple, increase the font size by three times, and center aligns onto my website. How would I do it?
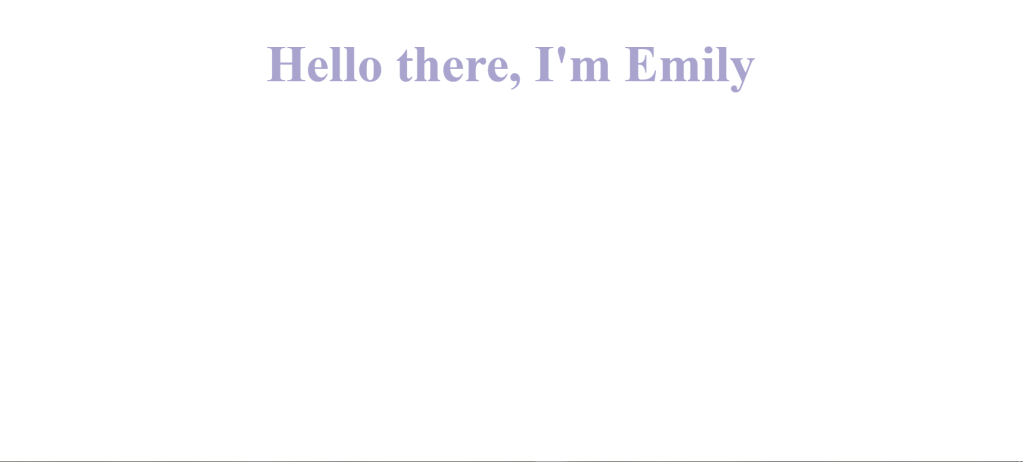
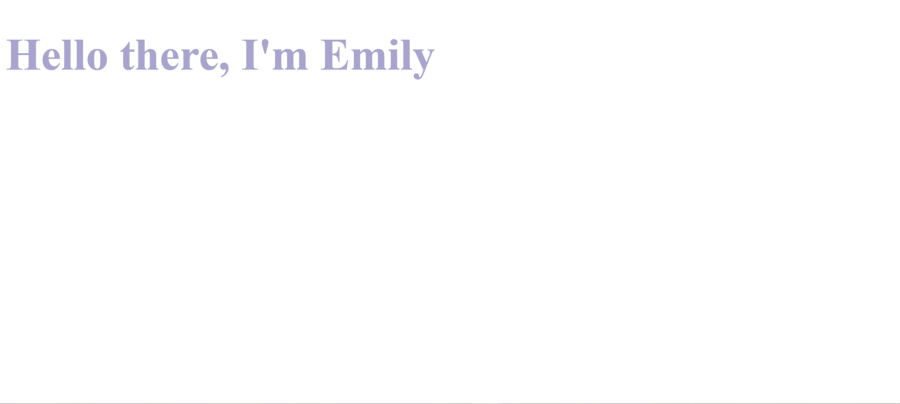
Currently, my h1 would be coded as this:
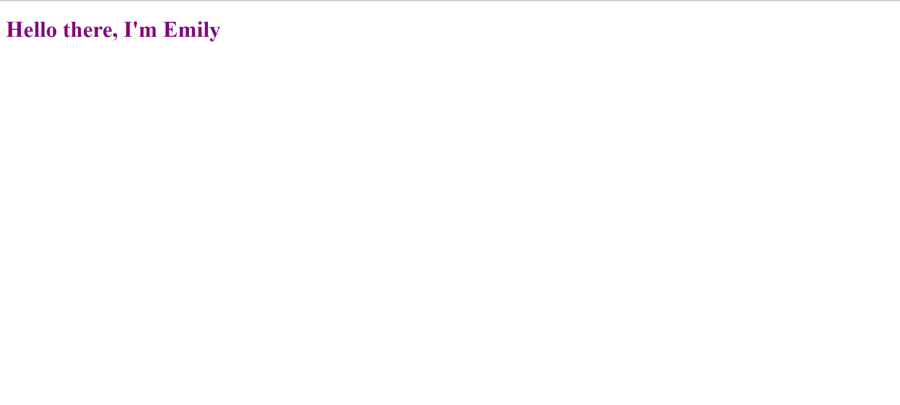
<h1>Hello there, I’m Emily<h1>
On a Page, it would look like this:

But the problem is I want it purple, bigger, and center, so how do I make this change?
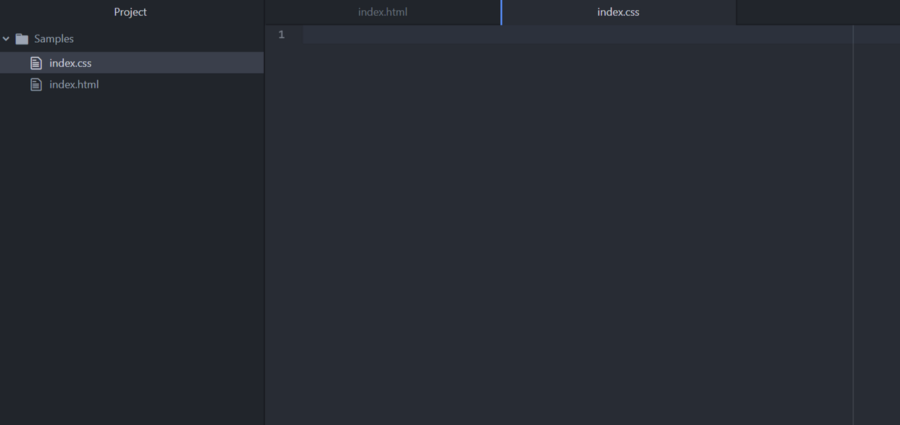
We’ve got to use some CSS for this. And the first step is to make a style sheet.
In Atom, which is the coding software I use, I simply click in my folder, press the ‘A’ key, and name my new file. Good practice to name it ‘index.css’.
I then added this to a folder I created called ‘css’.
Next, it’s very important to link to the stylesheet in your HTML sheet. Like so:
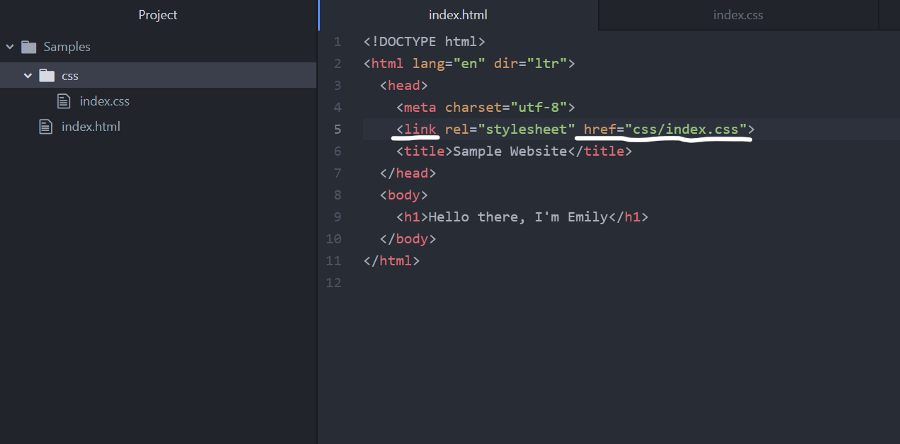
The ‘link’ tag in red signifies a link, ‘href’ is the source, the ‘css’ is the folder, and the ‘index.css’ is the stylesheet itself. This tells the computer where to find the stylesheet so it can be applied.
Now, onto syntax!
Step #2: Understanding Syntax
While most coding languages are similar, they don’t share everything. It’s important to understand the syntax- or the flow, so to speak- of the language you’re trying to code in.
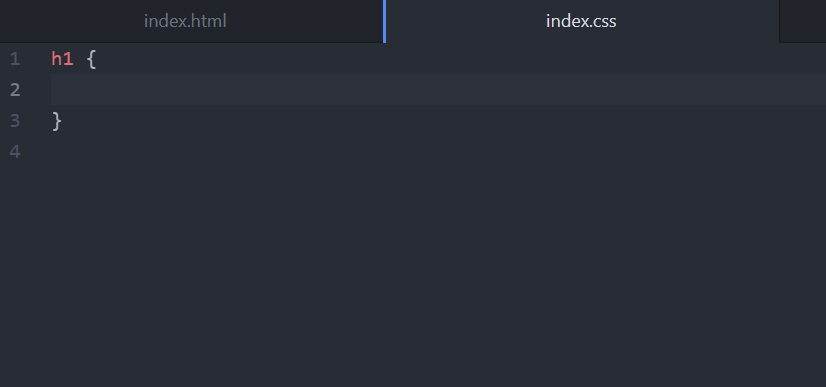
Unlike HMTL where we use angle brackets (<>) to begin a close a line, in CSS we use curly brackets ({}), and not all of the code goes into said brackets.
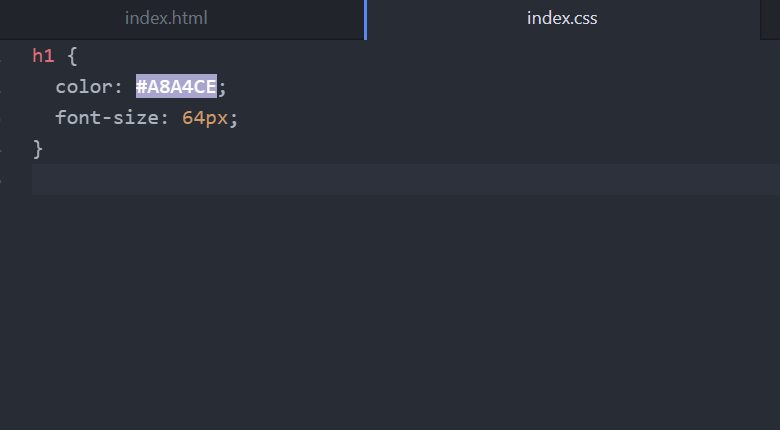
For example, to style our h1, the tag (h1) goes first. It’s then followed by curly brackets, where we will insert our styling code. Like this:
As for the syntax, we’ll cover that in our next step. Now, we can get to the fun part: styling.
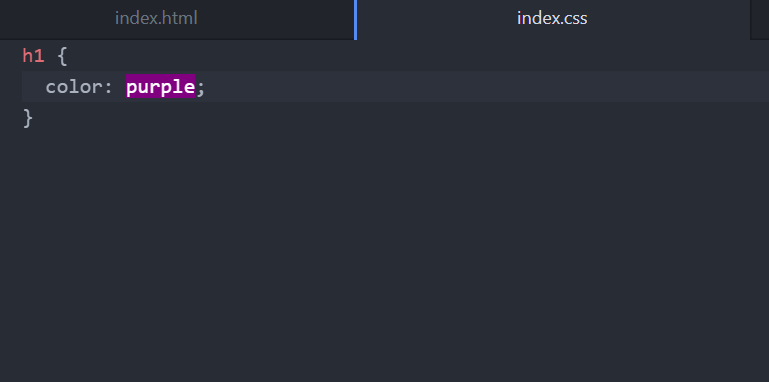
Step #3: Styling — Color
The first step is making our heading purple, right? Well, we have too options. The first is to simply add the color as ‘purple’, since the computer recognizes it as purple. Example:
(NOTE: Pay attention to the syntax here. It’s written, “color: purple;”. Everything we want to change ends in a colon, and what we change it to ends in a semicolon. It’s very simple, but important to remember, or else the code won’t work!)
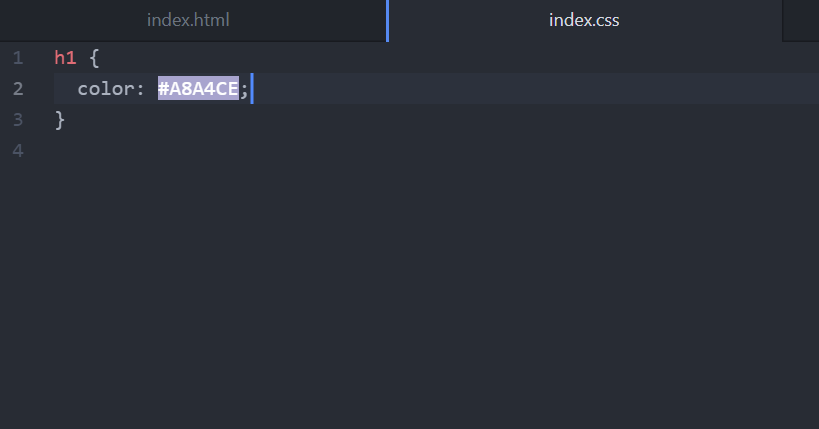
This is the shade of purple the computer will default to. But what if I want a different shade? No problem. I simply need to grab the HEX code and place it in there (note: don’t forget the ‘#’ sign in front!)
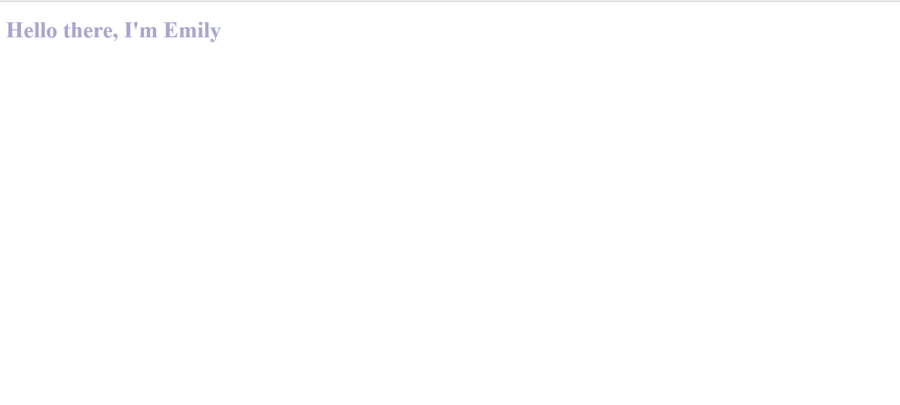
I’ve searched the web, and the color I want is this purple here: #A8A4CE. So, I’ll put that number in the place of ‘purple’.
(Note: When using a hex code, the pound symbol (#) must always be used before the code, or else the code won’t work.)
Step #4: Styling — Size
We’ve got the color we want now, but for the h1 of a website, it’s still a bit small. Not to worry! With CSS, we can change it.
To do this, we’re going to use a property called font-size. This directly affects the size of the font. The average pixel size for an h1 is 32px, or the equivalent of 2rem. I want my font size to be double the default, so 64px or 4rem (either one will work, but I’m going to use pixels in this case).
So inside of our h1 tag, I’m going to input, ‘font-size: 64px;’.
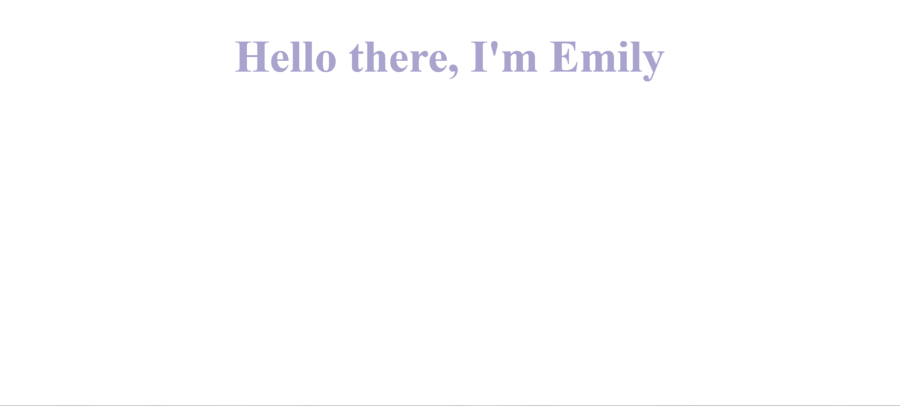
Which will look like this:
Step #5: Styling — Alignment
It’s looking great! But there’s just one more thing I want to do. Instead of being off to the left side, I want our welcome sign to be in the center of the page. This final step can be achieved in a few different ways, but we are going to use text-align.
The text-align property sets the horizontal alignment of an element. In our case, that element is the h1.
To code this, I’ll write ‘text-align: center;’ in our h1 tag.

This is the final result!
Final Thoughts
And there we have it! That is a very basic rundown on how to color, size, and align an h1 in CSS. While this is nowhere near a finished website, these properties are all commonly used to style, not just h1 tags, but other headings, paragraphs, icons, and more.
CSS is a powerful tool that allows for customization and the beautification of websites. This walkthrough barely scratches the surface. CSS allows you to do anything from changing the font, sizing, adding backgrounds, altering images, and more. It is a powerful language that is essential for any website.

Leave a comment